Documentation
Getting started
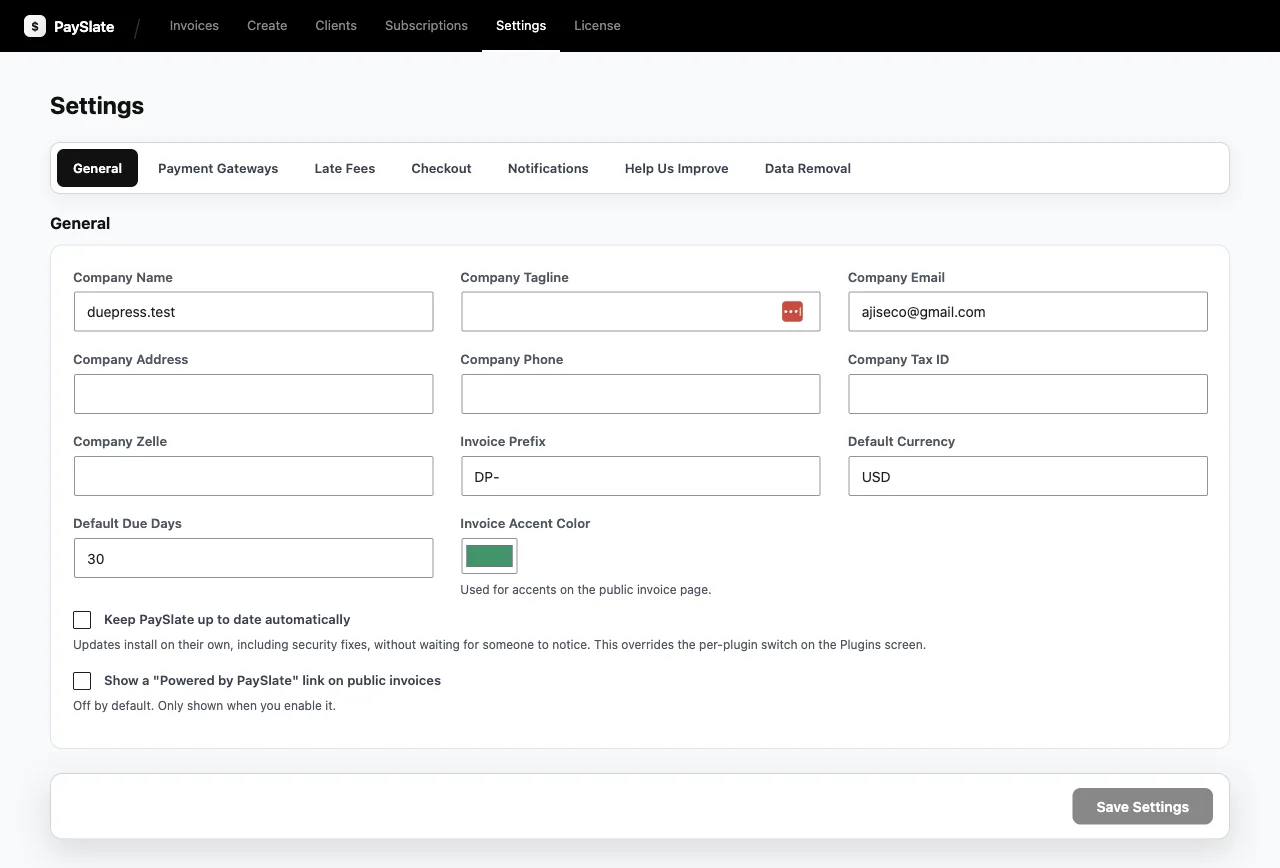
Requirements: WordPress 6.4+, PHP 7.4+, HTTPS. Install via Plugins → Add New → Upload, activate, then open Settings to add your company details (name, address, logo, these appear on every invoice). The 3-step walkthrough covers first invoice to first payment.
Payments
Choose one gateway at a time in Settings. Stripe and Square ship with the free plugin; PayPal, Checkout.com, Paddle and Lemon Squeezy come with Pro. Each needs API credentials and a webhook; the exact endpoint URL is shown in Settings. Full step-by-step guides: Stripe setup · Square setup. Always test with the gateway’s test/sandbox mode before going live. Credentials are encrypted at rest.
Invoices
- Statuses: Draft → sent → viewed → paid, or overdue once the date passes. The activity log records each transition.
- Deposits: Set a fixed amount or a percentage. The client can pay the deposit first and the balance later. Balances track automatically.
- Taxes & discounts: Per-invoice line controls.
- Reminders: Overdue invoices are chased automatically, and delivery and receipt emails are built in.
- Client page: Every invoice gets a mobile-friendly page on your own domain, with pay, print and save-PDF.
Troubleshooting
Payment made but invoice still unpaid → webhook misconfigured (re-check the gateway guide). Emails missing → test WordPress outgoing mail. Still stuck → support.
PaySlate documentation topics
Install it first from WordPress.org.